

HP Support Assistant can be useful for managing drivers, firmware, and other updates on HP laptops and desktops. However, you may sometimes encounter an installation error, including Installation Code -2, when trying to install or update the application.
The problem is often related to an older installation, leftover files, permissions, antivirus software, or corrupted Windows system files.
Here are several ways to fix the HP Support Assistant installation error and get the application working again.
Quick Tips
- HP Support Assistant is optional, so you can still update drivers manually if needed.
- Some firmware and system updates may require your HP laptop to be connected to a power source.
- HP computers that originally shipped with Windows may already include HP Support Assistant. In that case, check the application for available updates before reinstalling it.
Fix 1: Uninstall the Previous Version of HP Support Assistant
An older or damaged installation can interfere with the latest version of HP Support Assistant. Removing the existing installation and its leftover files can often resolve the problem.
Step 1: Open Installed Apps
Press Windows + I to open Settings.
Go to Apps > Installed apps.
Step 2: Uninstall HP Support Assistant
Search for HP Support Assistant, click the three-dot menu next to it, and select Uninstall.
Follow the instructions to complete the removal.
Step 3: Restart Your PC
Restart Windows after uninstalling the application.
Step 4: Remove Leftover Files
After restarting, check these locations for folders specifically related to HP Support Assistant:
C:\Program Files (x86)\HP\
C:\ProgramData\HP\
C:\Users\[Username]\AppData\Local\HP\
Delete only folders associated with HP Support Assistant.
Important: These directories may also contain files used by other HP programs, such as printer software, audio components, and drivers. Do not delete the entire HP folder unless you know exactly what you are removing.
Once finished, restart your computer and try installing HP Support Assistant again.
Fix 2: Download and Install HP Support Assistant Manually
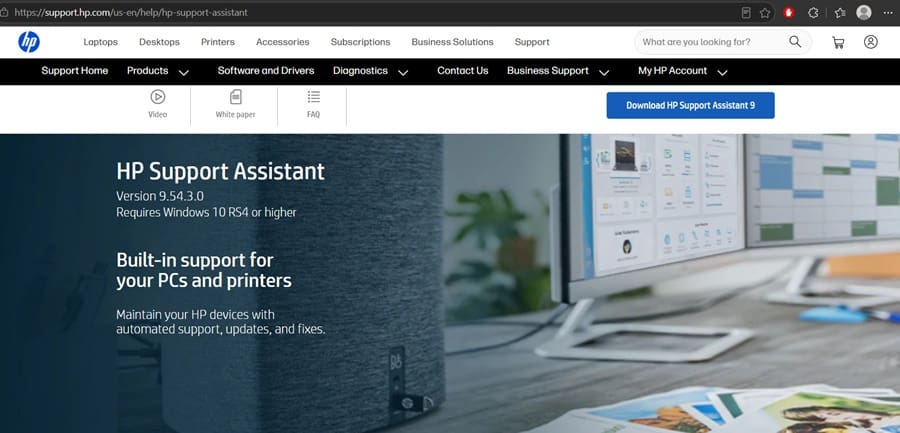
If the normal installation process fails, downloading the latest installer directly from HP and running it with administrator privileges may help.
Step 1: Download HP Support Assistant
Visit the official HP Support Assistant page and download the latest available version.
Step 2: Run the Installer as Administrator
Locate the downloaded setup file.
Right-click it and select Run as administrator.
Step 3: Allow the Installer to Make Changes
When Windows displays the User Account Control prompt, select Yes.
Step 4: Complete the Installation
Follow the instructions shown by the setup wizard.
If the installation continues to fail, you can try installing the application from a separate local administrator account.
Fix 3: Temporarily Check Your Antivirus Protection
Security software can occasionally interfere with an application installer. If you suspect antivirus protection is blocking the installation, temporarily disable real-time protection and test the installer.
Step 1: Open Your Security Software
Open your antivirus application.
If you’re using the built-in Windows security tools, open Windows Security > Virus & threat protection.
Step 2: Temporarily Disable Real-Time Protection
Temporarily turn off real-time protection according to your security software’s settings.
Step 3: Run the Installer Again
Run the HP Support Assistant installer as an administrator.
Step 4: Turn Protection Back On
Regardless of whether the installation succeeds, turn your antivirus protection back on immediately after testing.
If your security software was responsible for the problem, check its logs or official documentation for a safer way to allow HP Support Assistant rather than leaving protection disabled.
Fix 4: Repair Corrupted Windows System Files
Corrupted or damaged Windows system files can sometimes cause problems with application installations.
Windows includes two built-in tools that can check and repair system components: System File Checker (SFC) and Deployment Image Servicing and Management (DISM).
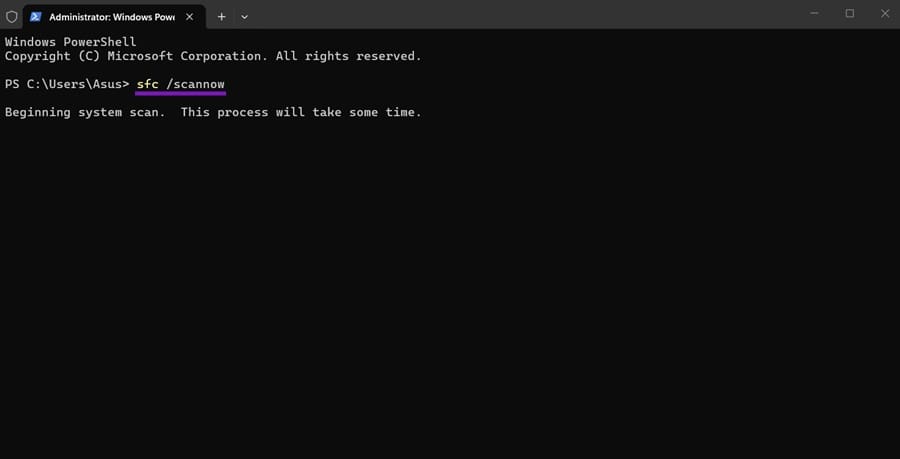
Step 1: Open Terminal as Administrator
Right-click the Start button and select Terminal (Admin).
Step 2: Run System File Checker
Enter the following command and press Enter:
sfc /scannowWait until the scan reaches 100%.
Step 3: Run DISM
After SFC finishes, run:
DISM /Online /Cleanup-Image /RestoreHealthAllow the process to finish. Depending on your system, this may take some time.
Step 4: Restart Windows
Restart your computer after the repair commands finish.
You can optionally run the SFC command again after restarting:
sfc /scannowStep 5: Try Installing HP Support Assistant Again
Download the latest installer from HP and try the manual installation method described in Fix 2.
Fix 5: HP Support Assistant Fails After Reinstalling Windows
If you recently performed a Windows reset, system recovery, clean installation, or restored your computer to an earlier state, some Windows and HP components may not be fully updated.
This can sometimes interfere with HP Support Assistant.
Step 1: Connect Your Laptop to Power
Plug your HP laptop into its charger before installing system or firmware-related updates.
Step 2: Install Windows Updates
Open:
Settings > Windows Update
Check for available updates and install them.
Restart the computer when required and check Windows Update again. Repeat the process until Windows reports that there are no additional updates available.
Step 3: Reinstall HP Support Assistant
If an existing HP Support Assistant installation is present, uninstall it from:
Settings > Apps > Installed apps
Restart the computer and download a fresh copy from the official HP website.
Frequently Asked Questions
Why does HP Support Assistant show Installation Code -2?
Installation Code -2 can occur because of an older HP Support Assistant installation, leftover program files, insufficient permissions, security software interference, or Windows system-file problems.
Is HP Support Assistant required on an HP laptop?
No. HP Support Assistant is optional software. You can still obtain many HP drivers and updates manually through HP’s support website.
Can I reinstall HP Support Assistant?
Yes. If the existing installation is damaged or outdated, uninstalling it, restarting Windows, and installing the latest version can resolve many installation problems.
Should I disable antivirus permanently?
No. Antivirus protection should not be left disabled. If security software is interfering with the installation, use its official exclusion or allow-list features after confirming that the installer is legitimate.
Final Thoughts
HP Support Assistant installation problems are usually caused by an existing installation, leftover files, Windows permissions, security software, or damaged system components.
Start by uninstalling the previous version and restarting your PC. If that does not work, download the latest installer directly from HP and run it as an administrator. You can then move on to Windows system-file repairs and Windows Update if the problem continues.
These steps should help resolve common HP Support Assistant installation errors, including Installation Code -2, without requiring third-party repair software.



Leave a Reply